A single black line running across your laptop’s display can be alarming. In this guide we’ll show you how to fix black line on laptop screen fix without replacement using easy, step-by-step methods. You’ll learn to diagnose the root cause (software or hardware), try fixes like driver updates and cable checks, and resolve the issue without swapping out the entire screen. Whether the line is vertical or horizontal, these tips will help you restore your display at home.
Laptop screens can sometimes develop a black line due to software glitches or hardware issues. By following the steps below, you can often resolve the problem without replacing the screen. We cover common causes, diagnostic tests, software adjustments, and safe DIY hardware fixes. Let’s get started!
Table of Contents
Why is there a black line on my laptop screen? (Common Causes)
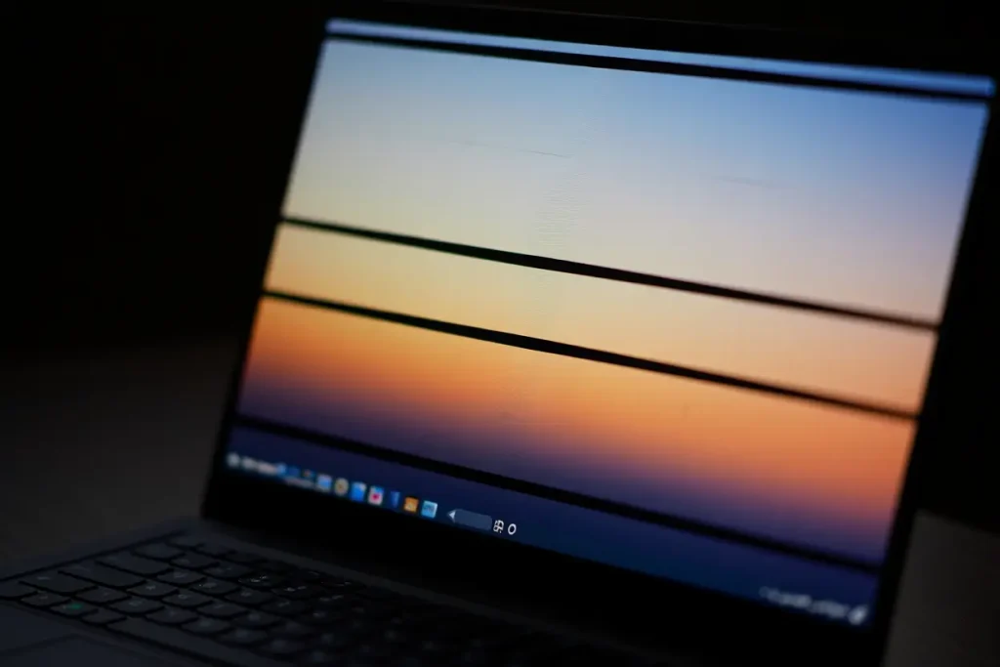
Black lines on a laptop display often indicate one of several problems. Common causes include:
- Loose or Damaged Display Cable: Inside most laptops, a thin ribbon cable connects the motherboard to the LCD panel. Over time or with repeated opening/closing of the lid, this cable can become loose, bent, or worn. Even a slight disconnection can create flickering or permanent black lines. If moving or flexing the screen (gently) makes the line flicker or vanish momentarily, the cable connection is likely the culprit.
- Graphics Chip (GPU) Issues: A failing or overheating graphics chip on the motherboard can produce lines on the screen. If the GPU is at fault, you may see similar lines on any external monitor connected to the laptop. Overheating, electrical surges, or general hardware failure of the video chipset can cause persistent stripes.
- Driver or Software Problems: Corrupted or outdated graphics drivers can trigger display glitches, including black lines or flickering. Similarly, incorrect display settings (wrong resolution or refresh rate) may produce artifacts. If the line appeared immediately after a driver update or OS change, this may be why. However, if the line is visible even on the BIOS boot screen, it’s almost certainly hardware-related, since BIOS does not use your Windows drivers.
- Physical Screen Damage: Any impact, pressure, or flexing of the laptop lid can crack or dislodge LCD layers. Even a tiny crack can show up as a solid black line. Check for visible cracks or pressure marks on the display. Pressing very gently around the edges of a cracked panel may cause the line to change slightly, indicating panel damage.
- Stuck/Dead Pixels (Pixel Column Failure): Rarely, a whole column or row of pixels can fail simultaneously. This often shows up as a perfectly straight vertical line of black dots. Such a defect is usually a manufacturing or age-related hardware fault. Pixel-fixing software is less likely to help in a true “column failure.”
- Image Retention / Burn-In: On some screens (more common with OLED panels or older LCDs), leaving a static image for a long time can create a faint ghost line or bar. If you only see the line when certain content is displayed (for example, a static UI element), it might be temporary. Try turning off the display or showing dynamic content to see if it fades.
- Overheating or Electrical Issues: Excessive heat or power surges can damage display circuitry. Ensure your laptop is well-ventilated and use a surge protector. If the line appeared after an overheating event or power spike, it could be related to internal circuit damage.
In many cases, black lines are due to a combination of the above – for example, a worn cable plus an aging LCD panel. The good news is that you can often fix these issues without replacing the entire screen. Below we’ll walk through key troubleshooting steps in order, so you can identify the cause and apply the right solution.
Troubleshooting Steps- Diagnose Hardware vs. Software
Before attempting any fixes, it’s helpful to determine whether the issue is hardware or software related. This will save time and ensure you follow the correct path:
- Restart and Power Reset: Begin with the simplest step. Shut down the laptop completely, unplug its power cable, and (if possible) remove the battery. Press and hold the power button for 15–20 seconds to drain any residual charge. Then reconnect power and turn on the laptop. Sometimes a full power reset can clear transient glitches in the display circuitry.
- Test with an External Monitor: Connect your laptop to an external monitor or TV via HDMI, DisplayPort, or VGA. Power on both. If the black line appears on the external monitor as well, the problem lies with the laptop’s GPU or motherboard (graphics chip), not the LCD. Unfortunately, GPU failures usually require hardware repair or replacement. If the external display is perfectly normal and only the laptop’s own screen has the black line, then the issue is inside the display assembly (the cable or panel) – which is often fixable without replacing the entire screen. This simple test, recommended by many support sites, can instantly narrow down the cause.
- Check in Safe Mode / BIOS: Restart your laptop and enter the BIOS or UEFI settings menu (often by pressing F2, F10, Del, or Esc on startup). If the black line appears even in the BIOS screen (a plain, graphics-driver-free display), that confirms a hardware issue (cable or panel). If it’s not visible in BIOS but only appears after Windows boots, the problem might be software/driver related. You can also boot into a clean environment or safe mode to see if the line is present.
These initial tests (power reset, external display, BIOS check) help decide if the fix will be a simple software tweak or a hardware adjustment. Now, let’s try the most common fixes that don’t involve replacing the screen.
Software and Settings Fixes (No Hardware Required)
If diagnostics suggest a software or settings issue, or if the problem sometimes comes and goes, try these fixes first. They are quick, safe, and often solve the issue:
- Update or Reinstall Graphics Drivers: Outdated or corrupt GPU drivers are a frequent cause of display artifacts. Visit your laptop manufacturer’s support page or the graphics chipmaker’s site (Intel, NVIDIA, AMD) and download the latest driver for your model. Install it and restart. In Windows Device Manager, you can also right-click the display adapter and choose “Update driver.” If the black line began right after a driver update, try rolling back to an older version: in Device Manager, open the GPU properties, go to Driver tab, and select “Roll Back Driver.” Reboot and check if the line is gone.
- Adjust Display Settings: Sometimes the resolution or refresh rate can cause weird lines if set incorrectly. In Windows, right-click the desktop, choose Display settings, then Advanced display settings. Ensure the Resolution is set to your screen’s native value (e.g. 1920×1080) and the Refresh rate matches the recommended spec (often 60 Hz for laptops, unless yours is high-refresh). An unsupported mode can create rendering issues. Apply the changes and see if the black line persists.
- Windows Troubleshooter & Updates: Run the built-in Windows Display or Video Playback troubleshooter (in Settings > System > Troubleshoot). Also ensure Windows itself is up to date. Occasionally, a Windows update can fix or introduce display bugs. Keeping the system fully updated can help.
- Power Settings: Check that no power profile is scaling down your display too aggressively. In Power Options (Control Panel or Windows Settings > Power & sleep), set a balanced power plan and disable any “adaptive brightness” features. Extreme power-saving modes can sometimes flicker displays.
- Safe Mode Test: Boot into Windows Safe Mode (which uses basic generic video drivers). If the black line disappears in Safe Mode, that strongly indicates a driver or software conflict. Use this info to update or roll back drivers accordingly.
- Pixel Fixing Tools (for small lines): If the black line is very thin (just a few pixels wide), it might be a cluster of stuck pixels. You can try a stuck-pixel fixer: an online tool or app (like JScreenFix or Dead Pixel Buddy) will rapidly flash colors in that area to “unstick” pixels. Leave it running over the line for 5–10 minutes. Also try a gentle pressure method: turn off the laptop and place a soft cloth over the affected area. Apply gentle pressure or a small circular rubbing motion. Then turn the screen back on. This can sometimes realign stuck sub-pixels. (Use caution: too much force can damage the LCD.) These steps often help with isolated pixel issues, though a wide black bar usually means the panel itself is damaged, so results may vary.
If after all the software tweaks the black line is still present on the screen (and tests indicate it’s hardware-related), proceed to the physical checks below.
Hardware Troubleshooting (Without Replacement)
If software fixes didn’t help and the line stays, carefully try these hardware steps. You will not be replacing the screen itself, but you may need to open the laptop to inspect connections. Only do this if you’re comfortable with minor disassembly:
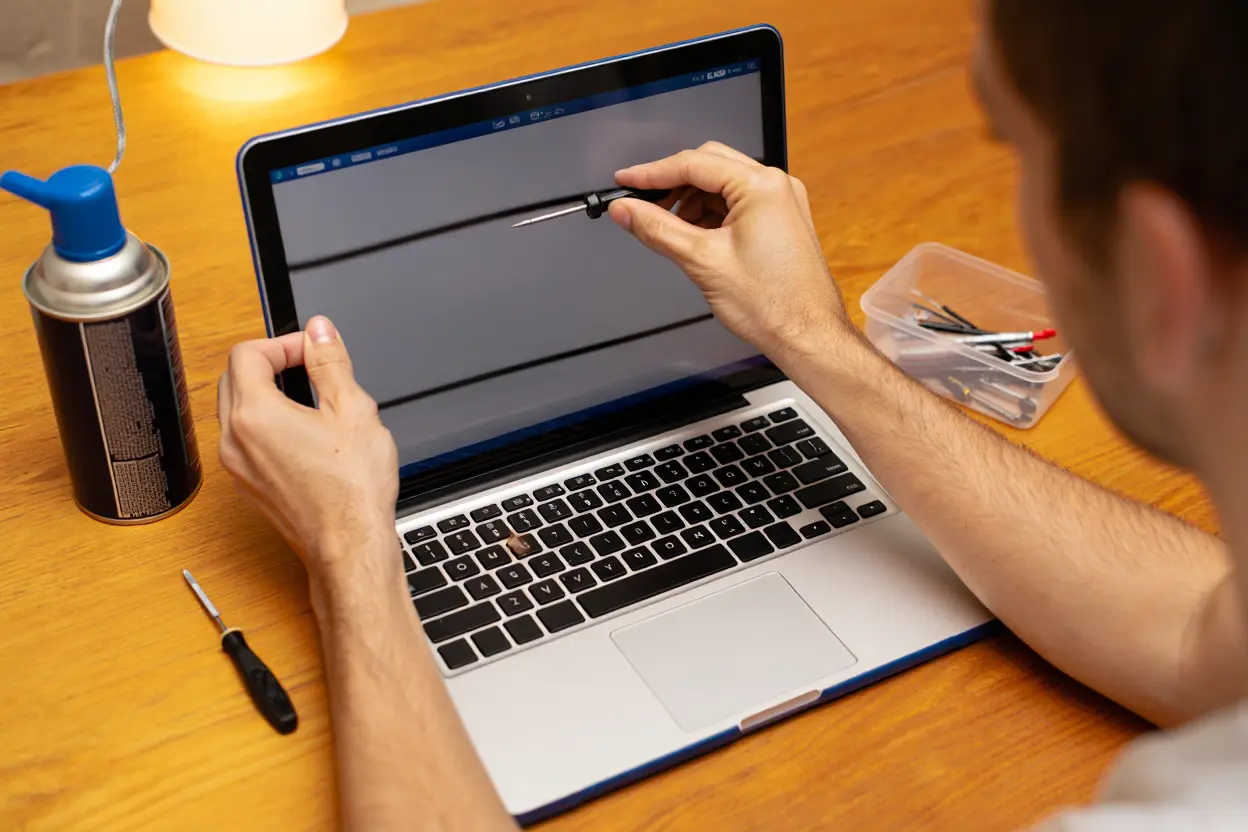
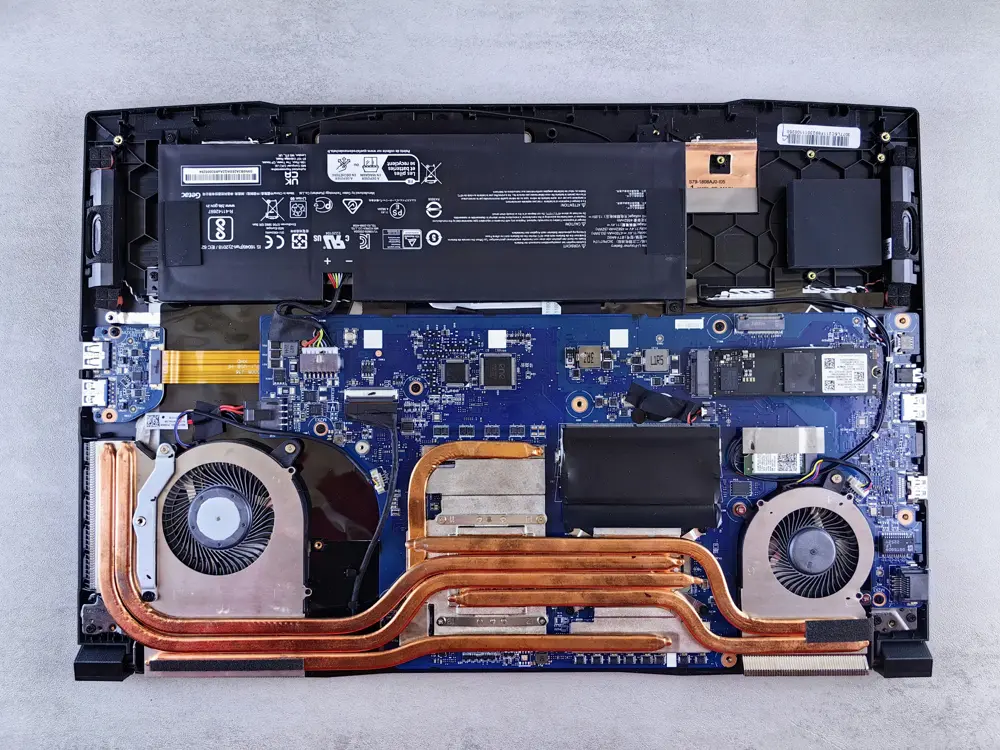
- Inspect and Reseat the Display Cable: Turn off and unplug the laptop. Ground yourself (touch a metal object) to avoid static damage. Using a small Phillips screwdriver, remove the back cover of your laptop or keyboard/top cover (depending on model) until you can access the LCD’s ribbon cable. This thin cable (often labeled LVDS or eDP cable) runs through the hinge from the motherboard to the back of the screen. Carefully unplug it from both the motherboard and the screen end, then plug it back in firmly. Some laptops have tiny flip-locks on these connectors – open them, insert the cable all the way, and then close the latch. Also check the cable for visible kinks or frays. A loose or damaged cable is a very common cause of one or more black lines. Reseating the cable often restores the display. (Caution: disassembly can void warranty or cause damage if done improperly. If you’re not comfortable, skip to the next step.)
- Bezel Pressure Test: With the laptop powered on and running (but beware of high pressure), carefully hold the display edges, not the front glass. Gently squeeze or apply light pressure around the frame near where the line is. If the black line momentarily flickers or disappears under pressure, that indicates a loose or damaged internal cable or connector. In this case, re-opening and securing the cable (as above) is likely to help. If the line does not respond at all to pressure, the LCD panel itself may be cracked internally or failing. Continue only if safe.
- Tilt/Move the Screen: Slowly open and close the lid back and forth. Do the black lines change, flicker, or disappear at any angles? If yes, it again points to a hinge-cable issue. If the line is stable in all positions, the problem is probably in the panel.
- Check for Physical Damage: Inspect the screen carefully. Any cracks, spider-web patterns, or stains on the LCD? Even slight flexing damage can show as a straight line. If you find a hairline crack or a visible pressure mark, that part of the panel is broken. Unfortunately, a cracked panel usually means replacement is the only fix. But if you prefer, try the cable reseating step first, as sometimes a crack causes additional cable tension.
- Alternate Connections: If your laptop has a removable external display cable (e.g. some modular gaming laptops), try swapping or cleaning it. On regular laptops, all connections are internal, so this applies mainly to convertible or docking setups.
- BIOS/Hardware Diagnostics: Many laptops (especially Dell/Lenovo/HP) have a built-in hardware diagnostic (BIOS screen test). For example, press and hold the D key on some Dells (Power on) to run an LCD loopback test, or use the F2 diagnostics on HP. Run any available screen or pixel tests. If the line shows up in these tests, you’ve confirmed hardware failure in the screen assembly.
- Professional Cleaning of Connectors: Dust or oxidation on the connectors can sometimes cause artifacts. If you see any debris on the cable contacts, very gently clean them with a soft eraser or electronics contact cleaner, then reseat. Be sure everything is dry before powering on.
- Update Firmware/BIOS (if not done already): Rarely, a low-level firmware bug can cause display issues. Visit the laptop maker’s website and update the BIOS/UEFI or embedded controller firmware to the latest version. Then repeat the BIOS screen test.
If none of these hardware checks clear the line, it’s likely a deeper failure (cracked panel or circuitry). However, you have now done everything possible without replacing the screen.
Tools and Supplies for Safe DIY
If you follow the hardware steps, here are some tools and tips:
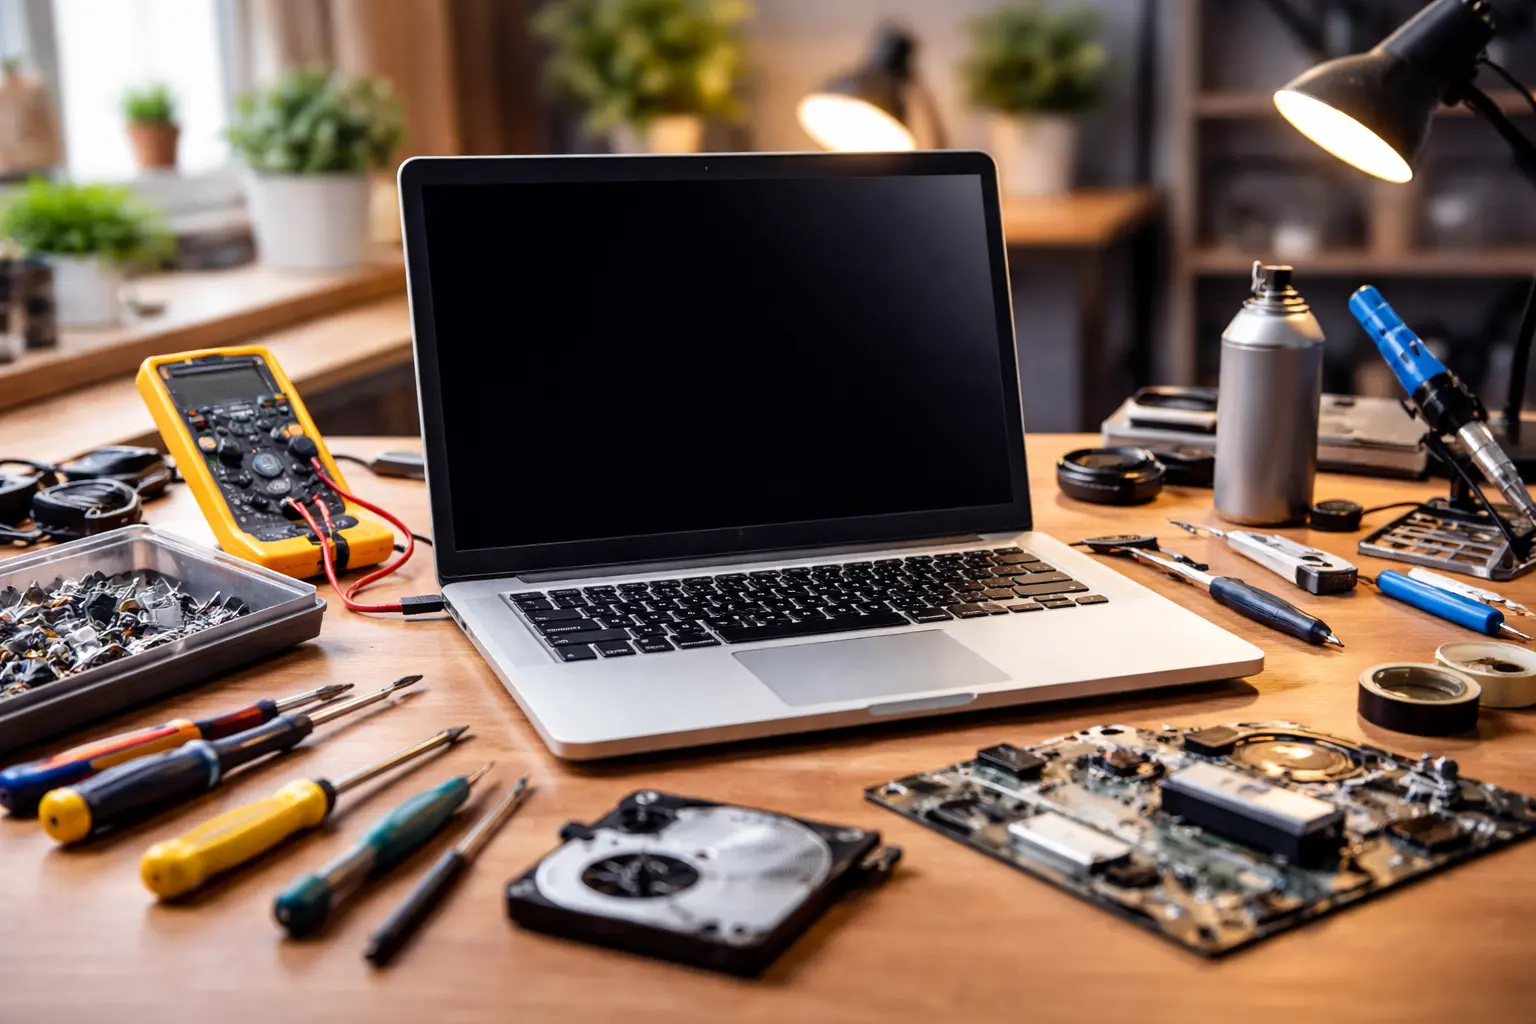
- Essential Tools: A small set of precision screwdrivers (Phillips #0, #00) is usually enough. A plastic spudger or pry tool helps remove covers without scratching. Tweezers can be handy for cables and screws. Keep a tray or magnetic mat for screws so you don’t lose them.
- Static Precautions: Work on a clean, static-free surface. Touch a grounded metal object before handling internal components, or use an anti-static wrist strap if available. Static discharge can damage electronics.
- Manuals and Guides: Check if your laptop model has an official service manual online. These often show step-by-step disassembly instructions. Even if you don’t replace parts, a manual helps identify screws and cables. Manufacturer forums or iFixit may have disassembly guides.
- Be Gentle: Laptop display cables and connectors are delicate. When unplugging ribbon cables, don’t pull the cable – lift the latch or pull on the hard plastic connector, if possible. Apply only light pressure for testing (about the pressure it takes to press a pencil eraser) – too much can worsen cracks.
- Safety Glasses: If using a laptop for extended time or fiddling with hardware, it’s wise to wear eye protection, just in case a cable snaps or a screw drops.
- Backup Your Data: Before doing any hardware disassembly, it’s good practice to back up important files. Unexpected issues (like the system not booting after reassembly) can occur. Having a backup means you won’t lose data if you need to send it for repair or do a system reset.
Using the right tools and a careful approach will minimize risk while you try these fixes. Remember, if you ever feel unsure about opening the laptop, it’s safer to stop and seek help.
When to Seek Professional Help or Replacement
After trying all the above, if the black line remains, replacement of hardware may be necessary. Here’s how to decide and proceed:
- Warranty Check: If your laptop is still under warranty or any extended coverage, contact the manufacturer support first. Explain the issue; they may replace the screen or even the whole unit (depending on policy). Many warranties cover non-accidental defects in the LCD panel, though intentional damage or wear-and-tear might not be covered. Have your serial number handy.
- Cost of Screen Replacement: Laptop LCD panels can often be replaced for $50–$150, plus labor. For example, many user forums report panels for common 15–17″ laptops costing around $60–$100. Labor at a repair shop might add another $80–$150. Before paying, get a quote. Note that professionally replacing the panel is usually reliable, but if it’s a loose cable, labor cost might cover just the reseat as well.
- DIY Panel Swap: If you’re handy, you can buy the correct replacement screen (ensure it matches your model and specs exactly) and swap it yourself. Refer to a service manual or online tutorial. Keep in mind: watch for ESD risks and be extremely careful with the delicate connectors. Use only genuine or high-quality OEM parts.
- Graphic Card or Motherboard Issue: If your tests showed the line on an external monitor too, the graphics chip is likely bad. This requires motherboard repair or replacement – not an easy DIY fix. In that case, professional service is recommended.
- Cost vs. Replacement: Sometimes, if the laptop is old or low-end, the total cost of repair (parts + labor) may approach the value of a new laptop. In such cases, consider saving the money towards a new machine. Newer laptops will have updated displays, often with higher resolution and maybe better warranties.
- Continuing to Use It: If the laptop is out of warranty and replacement cost is high, you could opt to keep using it with the defect (if it’s not too bothersome). For example, using the laptop with an external monitor works, or sometimes a minor black line might be tolerable. Be aware, though, that hardware issues often worsen over time, so what’s a small line now could become a larger screen failure later.
Even if a black line ultimately needs a new screen, trying these DIY fixes first can save you effort, money, or tell you exactly what part failed.
Preventing Black Lines and Screen Damage
After fixing the problem, take these precautions to avoid future screen issues:
- Handle Carefully: Always open and close your laptop lid gently, using both hands if possible. Avoid flexing or twisting the screen when opening. Don’t place heavy objects on the laptop when the screen is closed (even pens or small items on the keyboard can stress the panel when shut).
- Keep It Clean: Dust and debris can accumulate in hinges and vents. Periodically clean your laptop vents with compressed air to prevent overheating. Wipe the screen with a soft microfiber cloth and a proper screen cleaner (spray cleaner on the cloth, not directly on the screen). A clean screen is less likely to get scratches or residue that might hide minor cracks.
- Use a Protective Case: When traveling, use a well-padded laptop bag or sleeve. This protects the screen from jostling or accidental impacts. A rigid case can also prevent objects from pressing against the screen.
- Avoid Extreme Temperatures: Don’t leave your laptop in very hot or cold places (like a locked car in summer or a freezing garage). Extreme cold can make LCD materials brittle; extreme heat can damage internal components.
- Power Surges and Stability: Use a surge protector or UPS for your laptop’s charger, especially during storms or in areas with unstable power. A sudden spike or drop in voltage can damage the screen electronics or graphics chip.
- Screen Saver or Power Off: If you step away from your laptop for a while, turn off the display or use a screen saver. Leaving a static image on for hours (like a paused game or static GUI) can cause image retention over time. Regularly using sleep mode or turning off the laptop can extend screen life.
- Regular Updates: Keep your operating system and graphics drivers up to date. Many minor display issues are solved by software patches. Tools like the manufacturer’s update utility (e.g., HP Support Assistant, Lenovo Vantage) can automate this.
By following these habits, you reduce the risk of black lines or other display faults in the future.
Conclusion
A black line on a laptop screen can have many causes, but you often don’t need to immediately replace the screen. By diagnosing the issue step-by-step—power resetting, using an external monitor, updating drivers, and carefully inspecting cables—you can often fix the black line on your laptop screen without replacement. This saves time and money. Always proceed with care, and if a fix does require part replacement, weigh cost vs. benefit. If your repairs worked, you’ll have restored a fully functional display. If not, you’ll at least know what needs professional attention.
Did this guide help you fix your laptop’s display? Share it with friends or on social media and let us know in the comments what solution worked for you! For more DIY tech repair tips and laptop troubleshooting guides, follow TechUpdateLab on Facebook or subscribe to our newsletter.
FAQs
Q: Why is there a black line on laptop screen?
A: Black lines can be caused by hardware or software issues. Common culprits include a loose internal display cable, a failing graphics chip, or outdated graphics drivers. Physical damage (like a cracked screen) can also produce a solid line. To narrow it down, see if the line shows up on an external monitor (if it does, the GPU is likely bad; if not, the screen/cable is to blame). Checking BIOS and updating drivers can help identify the cause.
Q: How do I fix a vertical or horizontal black line on my laptop screen without replacing the screen?
A: First try software fixes: reboot and update your graphics drivers, and set the display to its native resolution and refresh rate. If that fails, test with an external monitor and run a BIOS display test. Then carefully check hardware: gently press around the screen edges to see if the line flickers (indicating a loose cable), and reseat the internal ribbon cable by opening the laptop if comfortable. Often, reseating the cable or updating drivers will fix the issue without replacing the panel.
Q: Will updating my graphics driver fix the black line issue?
A: It might if the cause is software-related. Corrupted or outdated drivers can cause display artifacts. Download the latest driver from your laptop or GPU manufacturer’s site and install it. If the line appeared after a driver update, try rolling back to an older driver. However, if the line is visible even before Windows loads (e.g. in BIOS), then a driver update won’t fix it—this indicates a hardware fault.
Q: Is a laptop screen replacement covered by warranty?
A: It depends on your warranty terms. If the defect is due to manufacturing issues and your laptop is under warranty, the manufacturer may replace the screen or unit at no cost. Accidental damage or wear may not be covered. Check your warranty paperwork or contact support. If the fix is simply a loose cable, that’s usually considered repairable and may still be covered if it’s inside warranty.
Q: Can I keep using my laptop if a black line appears?
A: Technically, yes, the laptop will function with a black line, but it can be distracting and may worsen over time. If the line is due to a dying GPU or broken panel, the problem could spread. A practical workaround is to use an external monitor. If the laptop is your only display, you’ll have to tolerate it or get it fixed; continued use with a broken panel could eventually damage the LCD further.
Q: How much does it cost to fix a black line on a laptop screen?
A: If the fix is software-based (driver update, cable reseat), it’s essentially free. If hardware is needed: replacing an LCD panel usually costs around $50–$150 for parts, plus any repair shop labor (around $80–$150). A used or aftermarket screen might be cheaper. If the GPU/motherboard is at fault, repairs can be much more expensive. Always compare repair cost to the price of a new laptop, especially for older machines.
Q: What is a “vertical black screen” on a laptop?
A: A vertical black screen typically means the display is stuck showing all black (no image), often with a black line or bar at the edge. It can happen when the entire screen goes black except a column. This is usually a severe hardware failure (like the LCD backlight or driver circuit failing). It is generally not fixable by software and often requires screen replacement.
Editorial Note: This article was created by TechUpdateLab to help laptop users troubleshoot and fix black lines on their screens. We strive to provide accurate, up-to-date, and helpful guides for all readers.
Author: Shahed TechUpdateLab.com