What a Dying Pixels Laptop Problem Actually Looks Like
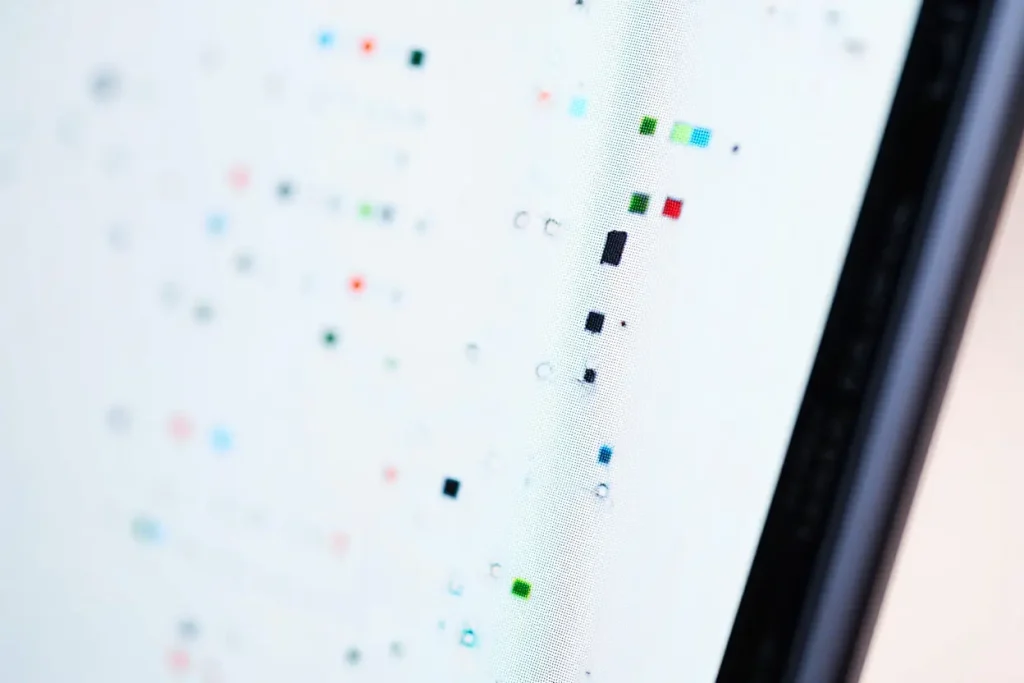
A dying pixels laptop issue shows up as tiny dots on your screen that refuse to behave like the rest of the display. You might notice one small speck that stays black no matter what is on the screen, or a dot that glows red, green, or blue all the time. At first it is easy to ignore. It is just one pixel, after all. But once you see it, you cannot unsee it, and it sits there mocking you every time you open a document or watch a video.
Most people discover the problem by accident. You are reading an article on a white background and spot a dark dot. You try to wipe it off, thinking it is dust. It does not move. That sinking feeling sets in. Is the whole screen failing? Do you need a costly replacement? The good news is that a single bad pixel rarely means your laptop is dying. In many cases, the rest of the panel is perfectly fine and the issue stays limited to one or two spots.

This guide walks you through everything about a dying pixels laptop situation: what causes it, how to tell a dead pixel from a stuck one, the home fixes that actually work, and when it is smarter to call a repair shop. You will also learn how to test a new or used laptop for pixel defects before you buy, so you never get stuck with a flawed screen in the first place.
Dying Pixels Laptop: Dead, Stuck, or Hot: Know Which Pixel Problem You Have
Not every odd dot is the same problem, and the fix depends on which type you are dealing with. A dead pixel is a pixel whose transistors have failed completely. It stays black in every situation because no light gets through at all. Dead pixels are the hardest to fix, and honestly, most of the time they cannot be revived at home.
A stuck pixel is different. One or two of its three sub-pixels (red, green, blue) are frozen in the “on” position, so the dot shows a constant color. You will often see stuck pixels as bright red, green, blue, or white spots, and they are most visible on dark backgrounds. The encouraging part is that stuck pixels sometimes respond to treatment. Gentle methods can unstick them, which is why it is worth trying the fixes below before giving up.
Then there are hot pixels, which appear as white dots that show up mainly on dark screens. They are similar to stuck pixels but tend to be a sensor or transistor issue that behaves a little differently. For practical purposes, you can treat hot pixels the same way you treat stuck ones. The label matters less than the behavior: if the dot shows color or light, there is hope. If it is pure black in all conditions, it is probably dead for good.
Dying Pixels Laptop: Common Causes of Dying Pixels on a Laptop Screen
Understanding why a dying pixels laptop problem happens helps you prevent it from getting worse. The most common cause is simple manufacturing variation. LCD panels are made of millions of tiny transistors, and a small number of them can be weak from the factory. That is why most laptop makers have a pixel policy that allows a few defective pixels before they consider it a warranty issue. It feels unfair, but it is standard across the industry.
Physical pressure is another big culprit. Laptops get squeezed in backpacks, pressed by heavy books, or poked during cleaning. The screen is the most fragile part of the machine, and even moderate pressure can damage the delicate transistor layer behind the glass. If the bad pixel appeared after a trip or after something pressed against the lid, pressure damage is the likely cause.
Age and heat also play a role. Over years of use, the liquid crystals and transistors in a panel slowly degrade. Laptops that run hot for long periods, like gaming machines or workstations rendering video, can develop pixel issues sooner. Power surges and faulty display cables can contribute too, though those usually cause lines or flickering rather than single bad pixels.
Sometimes the cause is a loose or aging display cable rather than the panel itself. If the odd pixels flicker, change with screen angle, or come and go, the cable or connector may be at fault. That is actually good news, because a cable replacement is far cheaper than a new panel. A repair shop can check this quickly.
Dying Pixels Laptop: How to Check Your Laptop for Dying Pixels
Before trying any fix, confirm what you are dealing with. The simplest test is to display solid colors full-screen and look closely. Open a plain white image or webpage, then a black one, then red, green, and blue. A dead pixel shows as black on every color. A stuck pixel shows its frozen color most clearly on contrasting backgrounds, for example a red dot pops on a black or white screen.
There are free online pixel-test tools that cycle through colors for you. Search for a dead pixel test page, open it in your browser, press F11 for full screen, and click through the colors. Take your time and scan the whole display, edges included. Mark the location of any bad pixel with a small sticky note on the bezel so you can find it again later when testing fixes.
It also helps to rule out software. Take a screenshot and view it on another device. If the dot appears in the screenshot on a different screen, it is a software or image artifact, not a hardware pixel problem. If it only exists on your laptop’s display, the panel itself is the issue. This thirty-second check saves a lot of wasted effort.
While testing, note how many bad pixels you find and where they sit. One stuck pixel near the corner is a minor annoyance. A cluster in the center of the screen is a bigger deal and strengthens any warranty claim. Most manufacturers publish their bright-dot and dark-dot thresholds, so count carefully and compare against your maker’s policy before deciding your next move.
Dying Pixels Laptop: Software Fixes Worth Trying First
Start with the safest options: software. These methods cost nothing and carry zero risk of physical damage, which is why they belong first in any dying pixels laptop repair attempt. They work by rapidly cycling the stuck pixel through colors, which can jolt a frozen transistor back into normal operation.
Pixel-fixing videos and web tools flash red, green, blue, white, and black in quick succession over the affected area. You drag a small flashing box onto the stuck pixel and let it run. Many people report success after ten to thirty minutes, though stubborn pixels may need a few hours. Run the tool while you do something else, then check the spot again. There is no harm in repeating the process a few times across different days.
Some users have luck with screen-massage utilities built into monitor test suites, but the flashing-color approach is the most widely used. Keep your expectations realistic: software fixes help stuck pixels, not truly dead ones. If the dot is black on every background, flashing colors will not bring it back. Still, since it costs nothing to try, there is no reason to skip this step.
One more software-side check: update your graphics drivers. In rare cases, a driver glitch can mimic pixel defects, especially after an operating system update. It takes five minutes to check for driver updates, and if the “bad pixel” vanishes afterward, you just saved yourself a lot of worry. Also try an external monitor. If the dot does not appear on the external display, you have confirmed the laptop panel is the source.
The Gentle Pressure Method (Use With Care)
If software did not work, the next option is the gentle pressure technique. This is the method people argue about online, so let us be clear: it sometimes works on stuck pixels, and it carries a small risk if done carelessly. The idea is to apply very light pressure to the stuck pixel to nudge the liquid crystal back into place.
Here is the careful way to do it. Turn the laptop off first. Dampen a soft microfiber cloth so you have a smooth, clean surface. Place the cloth over the stuck pixel and press very gently with your fingertip, just enough to see a slight distortion ripple around the area. Do not press hard. While maintaining that feather-light pressure, turn the laptop on. Then release. Check whether the pixel is behaving.
Some guides suggest gently tapping instead of pressing. Either way, the keyword is gentle. Laptop panels are thin and the layers behind the glass damage easily. If you press hard enough to leave a mark or see strong ripples, you are pressing too hard. One or two careful attempts are reasonable. If it does not work, stop. Repeated aggressive rubbing is how a single stuck pixel turns into a cracked panel, and that is a far more expensive problem.
When to Stop DIY and Get Professional Help
There is a point where home fixes stop being sensible. If your dying pixels laptop has a growing number of bad pixels, the panel itself is degrading and no amount of flashing colors will reverse it. A spreading cluster, new dots appearing weekly, or lines radiating from the bad spot all point to panel failure rather than a single stuck transistor. Back up your data and start planning a repair.
Check your warranty before paying for anything. Laptop warranties and consumer protection rules vary, but many cover panel replacement when the defect count exceeds the manufacturer’s threshold. Dig up your purchase receipt and look up the pixel policy for your brand. Even if you are out of warranty, it costs nothing to ask. Some makers offer goodwill repairs for premium models, especially if the laptop is barely a year old.
For out-of-warranty machines, compare repair quotes. An official service center charges more but uses genuine panels and keeps any remaining warranty intact. Independent shops are often much cheaper and can be perfectly reliable for a straightforward panel swap. Ask whether the quote covers parts and labor, how long the repair takes, and what warranty the shop gives on its work. For older laptops, weigh the repair cost against the machine’s value. A three-hundred-dollar panel replacement on a five-year-old laptop rarely makes sense when new machines with better screens cost only a little more.
If you are comfortable opening a laptop, a DIY panel replacement is possible on many models. Replacement panels are sold online, and video guides exist for popular machines. But be honest about your skill level. Laptop internals involve fragile ribbon cables and tiny screws, and one slip can damage the motherboard. For most people, a professional repair is the safer bet.
Preventing Dying Pixels in the Future
Once you have dealt with a dying pixels laptop scare, you will want to avoid a repeat. The single best habit is protecting the screen from pressure. Use a padded sleeve, do not stack heavy items on the closed lid, and keep pens or earbuds off the keyboard before closing the machine. That last one is a classic: a pen left on the keyboard can press into the screen and kill pixels or crack the panel.
Clean the screen correctly. Use a dry or slightly damp microfiber cloth and wipe gently. Never spray cleaner directly onto the display, and never scrub. Harsh chemicals can damage the coating, and aggressive wiping stresses the panel. If you use a screen protector, apply it carefully without pressing hard on the surface.
Manage heat as well. Do not block the vents, and consider a cooling stand if your laptop runs hot during heavy work. Extreme heat shortens the life of every component, including the display. It is also smart to avoid leaving a static image on screen for extremely long periods, though modern panels are far more resistant to image persistence than older ones.
When buying a laptop, test the screen on day one. Run a pixel check within the return window so a defective panel can be exchanged instead of becoming a warranty argument months later. Buying used? Run the same test before handing over money. A quick two-minute check can save you from inheriting someone else’s display problem.
Frequently Asked Questions
Can a dying pixel spread to neighboring pixels?
A single dead or stuck pixel does not infect its neighbors like a disease. However, if the underlying cause is panel degradation or physical damage, more pixels can fail over time for the same reason. One bad pixel usually stays one bad pixel. A growing cluster means the panel is failing and needs attention.
Will a dying pixel get worse on its own?
Truly dead pixels stay as they are. Stuck pixels sometimes resolve on their own or respond to the flashing-color treatment. What does get worse is the annoyance factor. If the pixel sits in the middle of your main work area, even one dot can drive you to distraction, which is a legitimate reason to pursue repair.
Does tapping the screen harder help?
No. Pressing harder increases the risk of cracking the panel or damaging nearby pixels without improving your odds. Gentle pressure, done once or twice with the machine off, is the safe limit. If that fails, move on to professional options rather than escalating force.
Are pixel defects covered by warranty?
Sometimes. Most brands set a minimum number of defective pixels before they authorize a panel replacement, and the threshold differs for bright dots versus dark dots. Check your manufacturer’s pixel policy and your purchase date. Retailers with generous return windows are often more flexible than the manufacturer in the first weeks after purchase.
Should I just live with one bad pixel?
Many people do, especially when the pixel sits near the edge of the screen. If it does not bother you during normal use, there is no technical urgency. Monitors do not fail catastrophically because of one dead pixel. The decision is really about your tolerance and whether a warranty claim is available.
When you’re getting started with Dying Pixels Laptop, the biggest mistake is trying to do everything at once. The people who get the best results from Dying Pixels Laptop start small, focus on one specific goal, and build from there. Think of Dying Pixels Laptop as a skill you develop over time, not a switch you flip. Each week you spend working with Dying Pixels Laptop, you’ll notice patterns in what works and what doesn’t.
Not every approach to Dying Pixels Laptop is right for every person. Your budget, your experience level, and your end goal all shape which Dying Pixels Laptop strategy makes sense for you. Someone exploring Dying Pixels Laptop for the first time needs different guidance than someone who’s been using Dying Pixels Laptop for months. The advice below assumes you’re past the absolute basics but still figuring out the details.
Final Thoughts
A dying pixels laptop problem is annoying but rarely an emergency. Start by identifying whether the pixel is dead or stuck, try the free software fixes, and attempt the gentle pressure method once if you feel comfortable. Respect your warranty options before spending money, and get a professional opinion if the problem spreads. With sensible care, most notably avoiding pressure on the lid and heat buildup, your next laptop screen can stay flawless for years. One tiny dot does not have to ruin an otherwise great machine.
Quick recap for anyone dealing with a dying pixels laptop right now: test with solid colors, try a flashing-pixel tool for stuck dots, attempt gentle pressure only once or twice, check your warranty terms, and get a repair quote if the problem spreads. Most single-pixel issues are cosmetic, so do not panic, but do not ignore a growing cluster either. A calm, step-by-step approach will get your screen back to looking its best with the least cost and hassle.