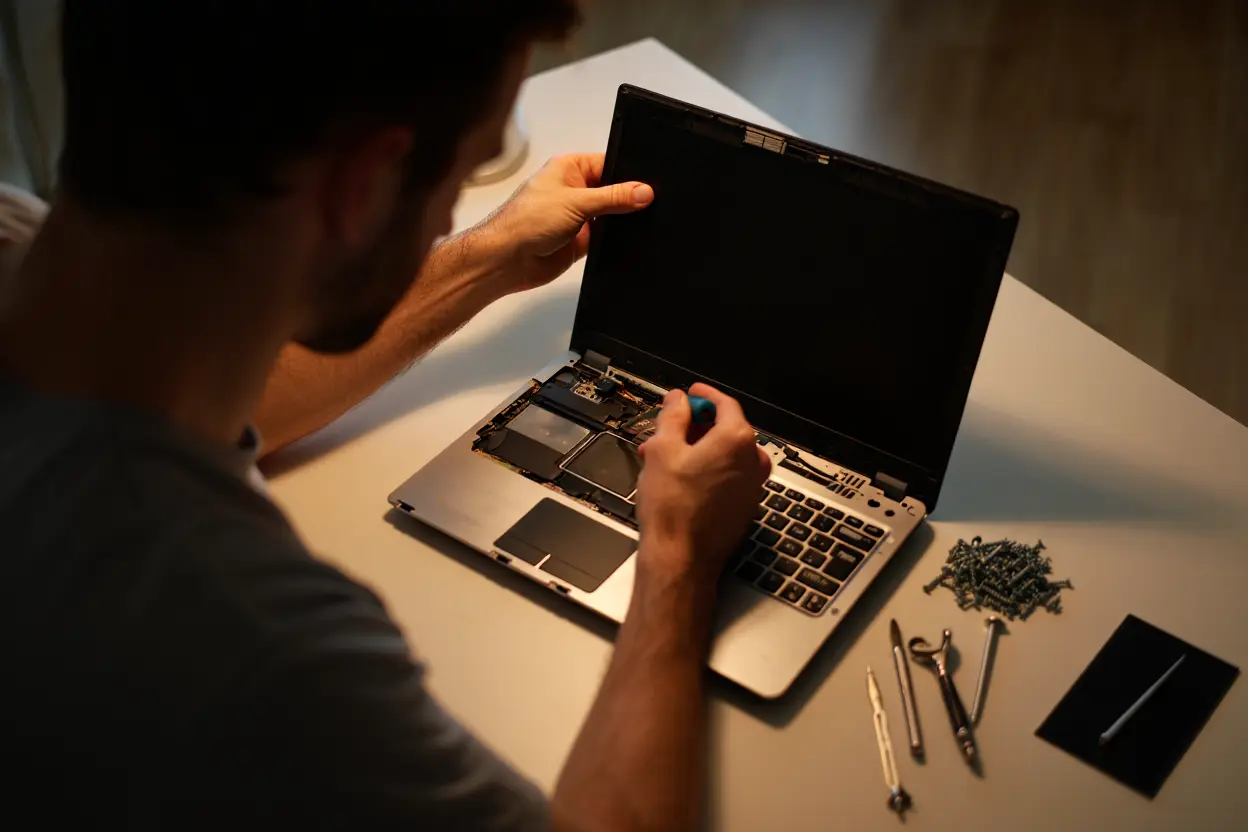
Laptop Problem Fix at Home: What You Can Actually Do Yourself
Your laptop just died the night before a deadline. Or the screen went black. Or it sounds like a jet engine taking off. Before you panic or pay a repair shop, know this: a surprising number of laptop problems have simple fixes you can do at home with no special tools and no technical background.
This guide to laptop problem fix at home covers the most common issues real people face, with step-by-step solutions that actually work. I have organized everything from easiest to hardest, so start at the top and work down. You might solve your problem in five minutes without spending a cent.
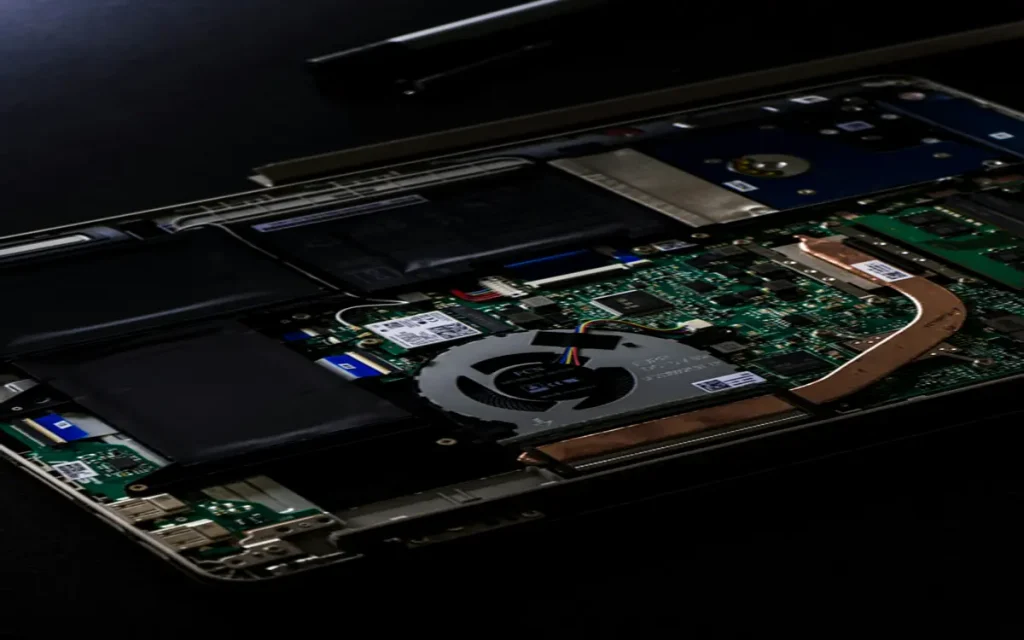
One important rule before we start. If your laptop is still under warranty, check the warranty terms first. Opening the case or removing certain components can void it. When in doubt, call the manufacturer. For out-of-warranty machines, though, you have nothing to lose by trying these fixes.
Laptop Problem Fix at Home: Laptop Will Not Turn On: The First Things to Check
A dead laptop is scary, but the cause is often embarrassingly simple. Work through these checks before assuming the worst.
Laptop Problem Fix at Home: Check the Power Basics
Start with the obvious. Is the charger plugged in firmly at both ends? The wall end and the laptop end both work loose over time. Try a different wall outlet, because outlets do fail. Look at the charger’s indicator light if it has one. No light could mean a dead charger rather than a dead laptop.
Remove the battery if your laptop has a removable one. Hold the power button down for thirty seconds with the charger unplugged. This drains residual power, a trick called a power cycle, and it resolves a shocking number of no-boot situations. Reconnect the charger, wait a minute, and try powering on.
Laptop Problem Fix at Home: Listen and Look for Clues
When you press power, does anything happen at all? Fans spinning but no screen suggests a display issue, not a power issue. No sounds and no lights points to power delivery. Beeps in a pattern are diagnostic codes. Three beeps might mean a memory problem, for example. Note what you observe, because it narrows down the cause enormously.
Laptop Problem Fix at Home: Screen Problems: Black, Flickering, or Strange Lines
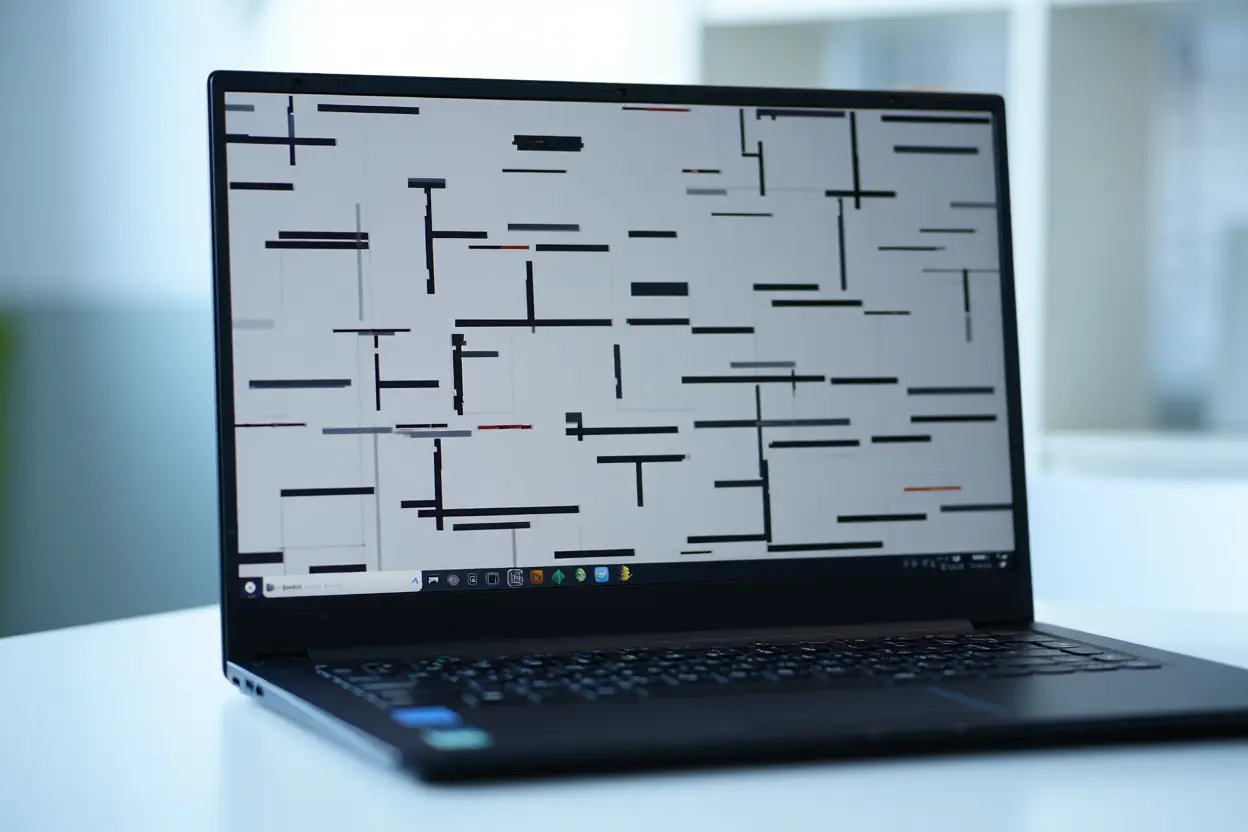
Display issues are among the most common reasons people seek a laptop problem fix at home, and many have simple causes.
Black Screen With Power On
If the laptop powers on but the screen stays black, connect it to an external monitor or TV with an HDMI cable. If the external display works, your laptop is fine and the built-in screen or its cable is the issue. That is still fixable, but it helps to know exactly what is broken before you start.
Try the brightness keys first. It sounds silly, but screens do get turned all the way down accidentally. On Windows, the Windows key plus P cycles display modes, which can wake a confused display output.
Flickering Screen
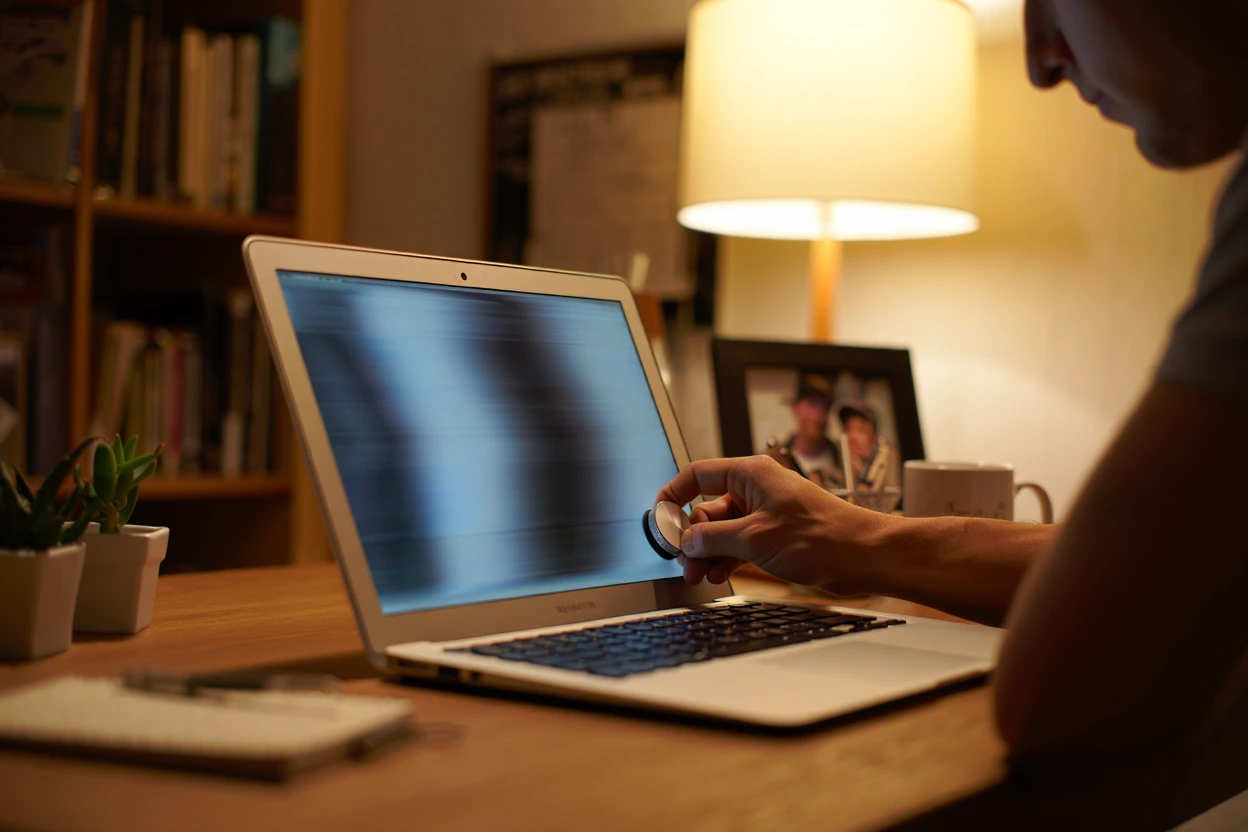
Flickering often comes from a loose display cable or a mismatched refresh rate. Right-click the desktop, go to display settings, then advanced display settings, and check the refresh rate. Setting it to the recommended value, usually 60Hz, fixes flicker caused by wrong settings.
If flickering changes when you move the screen hinge, the cable running through the hinge is likely loose or damaged. That is a hardware issue you can sometimes fix by reseating the cable, though it requires opening the laptop.
Laptop Running Slow: Speed It Up Without New Hardware
Slowness creeps up gradually until one day everything feels painful. Before buying a new laptop, try these fixes. A laptop problem fix at home for performance issues is almost always software, not hardware.
Clean Up Startup Programs
Every program that launches at boot steals memory and CPU time. On Windows, open Task Manager, go to the Startup tab, and disable everything you do not need immediately. On Mac, check System Settings under General and then Login Items. Fewer startup programs means a faster boot and a snappier system.
Free Up Disk Space
A nearly full drive slows everything down. Aim to keep at least fifteen percent of your drive free. Uninstall programs you do not use, move large files to external storage, and run the built-in disk cleanup tool. On Windows, Storage Sense can automate this. The difference is often dramatic.
Check for Malware and Bloatware
Run a full scan with Windows Defender or your antivirus of choice. Malware and cryptominers silently consume resources. Also look for bloatware, the preinstalled junk that came with the laptop. A surprising amount of manufacturer-installed software runs in the background doing nothing useful. Remove what you do not need.
Consider a RAM or SSD Upgrade
If software cleanup is not enough, a hardware upgrade is the best value fix available. Adding RAM or swapping a spinning hard drive for an SSD transforms an old laptop. Both are among the easiest hardware upgrades, often requiring only a screwdriver. Check your laptop’s manual or the manufacturer’s site for compatible parts.
Overheating: When Your Laptop Feels Like a Stove
Heat is the enemy of laptop longevity. If your machine gets uncomfortably hot, shuts down randomly, or the fan runs at full blast constantly, overheating is likely. The good news is that most overheating has fixable causes.
Clear the Vents
Dust is the number one cause of laptop overheating. It clogs the vents and coats the internal heatsinks, trapping heat inside. Power off the laptop, then use compressed air to blow dust out of the intake and exhaust vents. Short bursts work better than one long blast. Do this every few months as preventive maintenance.
Never use a vacuum cleaner on laptop vents. The static electricity can damage components. Compressed air cans are cheap and safe.
Fix Your Setup
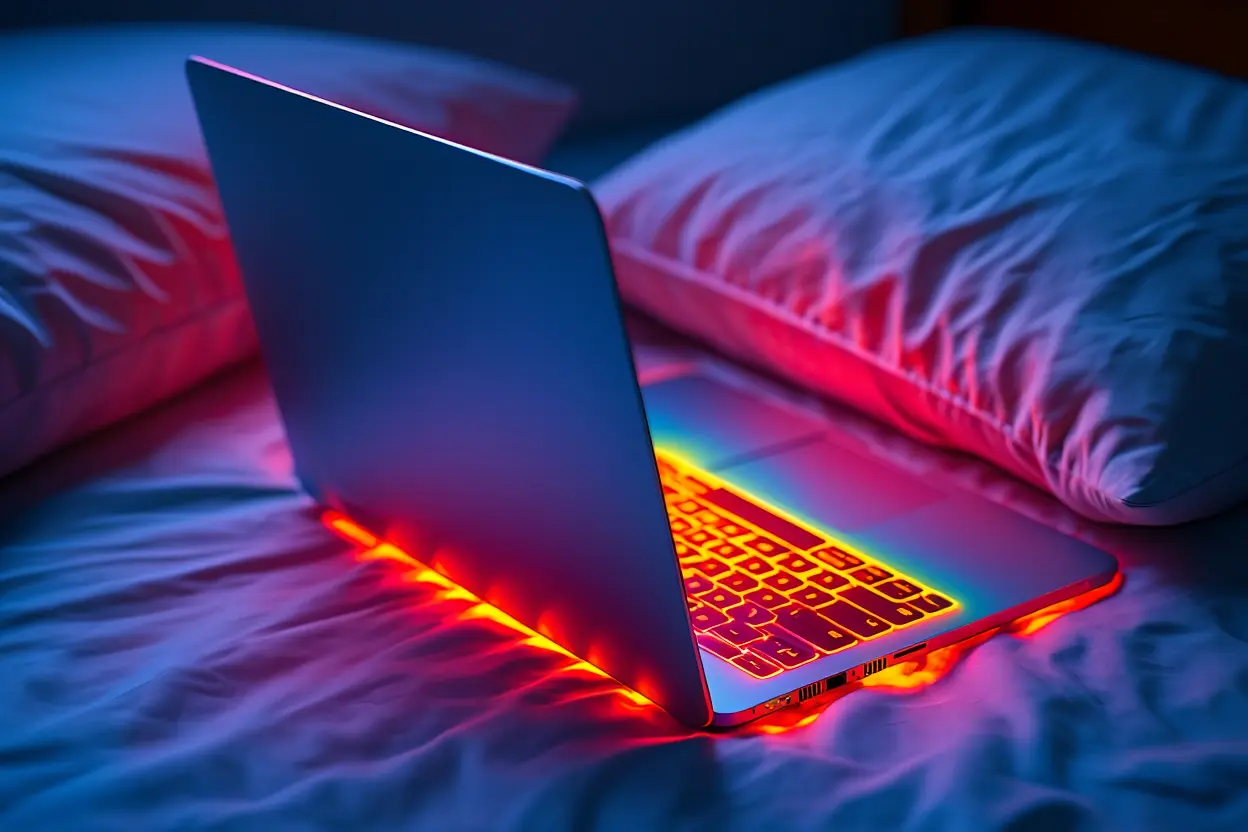
Using a laptop on a bed, couch, or your lap blocks the intake vents on the bottom. That soft surface smothers airflow. Use the laptop on a hard flat surface, or get a cooling stand that lifts it up. Even propping the back edge on a book improves airflow noticeably.
Replace Thermal Paste for Older Laptops
Thermal paste sits between the processor and the heatsink, conducting heat away. After several years it dries out and stops working well. Replacing it requires opening the laptop and removing the heatsink, which is intermediate-level work. But for a five-year-old laptop that overheats, fresh thermal paste can drop temperatures by fifteen degrees or more.
Keyboard and Touchpad Issues
Input devices take constant abuse, so problems are common. Most have simple solutions.
Keys Not Working or Sticking
For a single dead key, turn the laptop off and try compressed air under the key. Crumbs and debris are the usual culprits. For sticking keys, a cotton swab lightly dampened with isopropyl alcohol cleans around the key mechanism. Do not pour liquid on the keyboard.
If many keys fail at once, check whether you accidentally enabled a keyboard layout change or accessibility feature like Sticky Keys or Filter Keys. On Windows these live in Accessibility settings. An external USB keyboard is a fine workaround while you troubleshoot.
Touchpad Not Responding
Touchpads get disabled accidentally all the time. Most laptops have a function key combination, often Fn plus F7 or similar, that toggles the touchpad. Check for a touchpad icon on your function keys. Also verify in settings that the touchpad is enabled and that palm rejection is not set too aggressively.
Wi-Fi and Connectivity Problems
When the internet stops working on your laptop but works on your phone, the laptop is the problem. Here is the laptop problem fix at home sequence for connectivity.
The Standard Reset Sequence
Forget the network on your laptop, restart the laptop, restart the router by unplugging it for thirty seconds, then reconnect fresh. This resolves the majority of Wi-Fi issues. It is boring advice because it works so often.
Update or Reinstall Network Drivers
Corrupt network drivers cause intermittent drops and slow speeds. Open Device Manager on Windows, find your wireless adapter, and update the driver. If updating does not help, uninstall the device and restart. Windows reinstalls a fresh driver automatically on boot.
Check Power Management Settings
Windows sometimes turns off the wireless adapter to save power, causing random disconnections. In Device Manager, open the adapter’s properties, go to the Power Management tab, and uncheck the box that allows the computer to turn off the device. This single checkbox fixes countless mystery disconnections.
Battery Draining Too Fast
Batteries degrade over time, but sudden drain often has a software cause worth investigating before buying a replacement.
Find the Power Hogs
On Windows, the battery usage screen in Settings shows which apps consume the most power. Browsers with many tabs, video apps, and background sync tools are common culprits. On Mac, Activity Monitor’s Energy tab does the same job. Close or replace the worst offenders.
Adjust Power Settings
Lower screen brightness, which is the single biggest battery drain. Enable battery saver mode. Reduce the screen timeout. Disable Bluetooth when not in use. These small changes add up to meaningful extra runtime.
Calibrate an Aging Battery
If the percentage jumps around erratically, the battery gauge may need calibration. Charge to one hundred percent, then use the laptop until it shuts down from empty, then charge fully again without interruption. This does not restore lost capacity, but it makes the reporting accurate.
Strange Noises: Clicks, Whines, and Rattles
New noises from a laptop deserve attention. Different sounds point to different problems.
- Clicking or ticking: Often a failing hard drive. Back up your data immediately. If you have an SSD, clicking is less likely to be the drive and more likely a fan.
- Loud fan constantly: Usually dust or overheating. Clean the vents as described above. If the fan itself is failing, it may need replacement.
- Coil whine: A high-pitched whine under load is usually harmless electrical noise from components. Annoying but not dangerous.
- Rattling: Could be a loose screw or a fan blade hitting something. Worth opening up to inspect if you are comfortable doing so.
Software Crashes and the Blue Screen
Frequent crashes point to driver issues, bad memory, or corrupt system files. Here is how to narrow it down without professional help.
Boot Into Safe Mode
Safe Mode loads only essential drivers. If crashes stop in Safe Mode, a third-party driver or startup program is the cause. Add things back one at a time until the crashes return, and you have found your culprit.
Run Memory Diagnostics
Bad RAM causes random crashes that look like software problems. Windows Memory Diagnostic, built into Windows, tests your RAM thoroughly. On Mac, Apple Diagnostics does the same. Replace any stick that fails the test.
Repair System Files
Open Command Prompt as administrator and run the system file checker. It scans for corrupt Windows files and repairs them automatically. This fixes a surprising number of mysterious crash issues with one command.
When to Stop and Call a Professional
DIY has limits. Knowing when to stop is as important as knowing how to start. Seek professional help when you encounter any of these situations.
- Swollen battery: If the trackpad is lifting or the case is bulging, the battery is swelling. Stop using the laptop immediately. Swollen batteries are a fire risk. Do not puncture or bend them.
- Liquid damage: If you spilled liquid inside, power off immediately, unplug, and do not try to turn it on. Professional cleaning gives the best chance of survival.
- Cracked screen: Screen replacement is doable for some models but risky. One wrong move damages the new panel or the cable.
- Motherboard issues: If nothing powers on after all basic checks, or you smell burning, the motherboard may be damaged. Board-level repair needs specialized equipment.
- Data recovery from a dead drive: If the drive is not detected at all, professional recovery labs have tools you do not. Do not keep powering a failing drive, as it can cause more damage.
Preventive Habits That Avoid Future Laptop Problems
The best laptop problem fix at home is the one you never need because you prevented the issue. These habits take minutes and save hours.
Keep It Clean
Blow out the vents with compressed air every three months. Wipe the keyboard and screen with appropriate cleaners. Keep food and drinks away from the machine. Dust and crumbs cause more problems than most people realize.
Keep Software Updated
Install operating system updates and driver updates promptly. Updates fix bugs, patch security holes, and sometimes improve performance. Enable automatic updates so you do not have to think about it.
Back Up Regularly
Every laptop dies eventually. Regular backups mean a dead laptop is an inconvenience, not a disaster. Use an external drive, cloud storage, or both. Automate it so it happens without you remembering.
Handle It Gently
Do not pick up the laptop by the screen. Do not slam the lid. Use a padded bag for transport. Avoid extreme heat and cold. Physical care extends life more than any software tweak.
Frequently Asked Questions About Laptop Problem Fix at Home
Is it safe to open my laptop?
For most models, removing the bottom panel to clean fans or upgrade RAM and storage is safe and intended by the manufacturer. Check your manual first. Avoid touching circuit boards directly, work on a non-static surface, and keep track of screws. If the laptop is under warranty, opening it may void coverage.
How do I know if a problem is hardware or software?
Boot from a USB live operating system. If the problem disappears, it is software. If it persists across different operating systems, it is hardware. Safe Mode is a quicker version of the same test for Windows issues.
My laptop is very old. Is it worth fixing?
Software fixes are always worth trying since they cost nothing. For hardware, compare repair costs against the laptop’s value. An SSD and RAM upgrade can make a five-year-old laptop feel new for a fraction of replacement cost. A motherboard replacement on an old machine rarely makes financial sense.
What tools do I need for basic laptop repair?
A small Phillips screwdriver set, plastic prying tools, compressed air, isopropyl alcohol, and cotton swabs cover most home repairs. A magnetic mat for screws prevents the classic problem of leftover screws after reassembly.
When you’re getting started with Laptop Problem Fix at Home, the biggest mistake is trying to do everything at once. The people who get the best results from Laptop Problem Fix at Home start small, focus on one specific goal, and build from there. Think of Laptop Problem Fix at Home as a skill you develop over time, not a switch you flip. Each week you spend working with Laptop Problem Fix at Home, you’ll notice patterns in what works and what doesn’t.
Not every approach to Laptop Problem Fix at Home is right for every person. Your budget, your experience level, and your end goal all shape which Laptop Problem Fix at Home strategy makes sense for you. Someone exploring Laptop Problem Fix at Home for the first time needs different guidance than someone who’s been using Laptop Problem Fix at Home for months. The advice below assumes you’re past the absolute basics but still figuring out the details.
Wrapping Up: Laptop Problem Fix at Home Saves Time and Money
Most common laptop problems have straightforward solutions you can handle yourself. Power issues, slow performance, overheating, connectivity drops, and input device quirks all respond well to the methods in this guide. The key is working systematically: observe the symptoms, try the simplest fix first, and only move to harder steps when the easy ones fail.
Keep this guide bookmarked for the next time something goes wrong. And remember the preventive habits, because the cheapest repair is the one you never need. With a little confidence and the right steps, laptop problem fix at home is well within your reach.
Start with the simplest solution, stay patient, and work through each step carefully. Most laptop owners are surprised by how much they can fix on their own once they have clear guidance.