Nothing kills your momentum like hitting play on a video and hearing pure silence. Laptop audio not working is one of the most common laptop complaints around, and the good news is that most of the time it’s a software setting, not a dead speaker. This guide walks you through every fix that actually works, starting with the quick checks and moving into the deeper stuff. No fluff, no “restart and pray” — just a methodical path from silent laptop to working sound.
Laptop audio not working: Start With the Obvious: The Checks Everyone Skips
Before you touch a single driver or setting, run through the basics. You’d be surprised how often a laptop audio not working problem turns out to be something embarrassingly simple. I’ve seen people spend an hour in Device Manager only to realize their Bluetooth earbuds were connected and hogging the output.
First, look at your volume. Press the volume-up key and watch the on-screen indicator. Make sure nothing is muted — check both the system volume and the app you’re using. In Windows, the little speaker icon in the taskbar can show an X or a slash if output is muted. On a Mac, the Touch Bar or menu bar volume slider tells the same story.
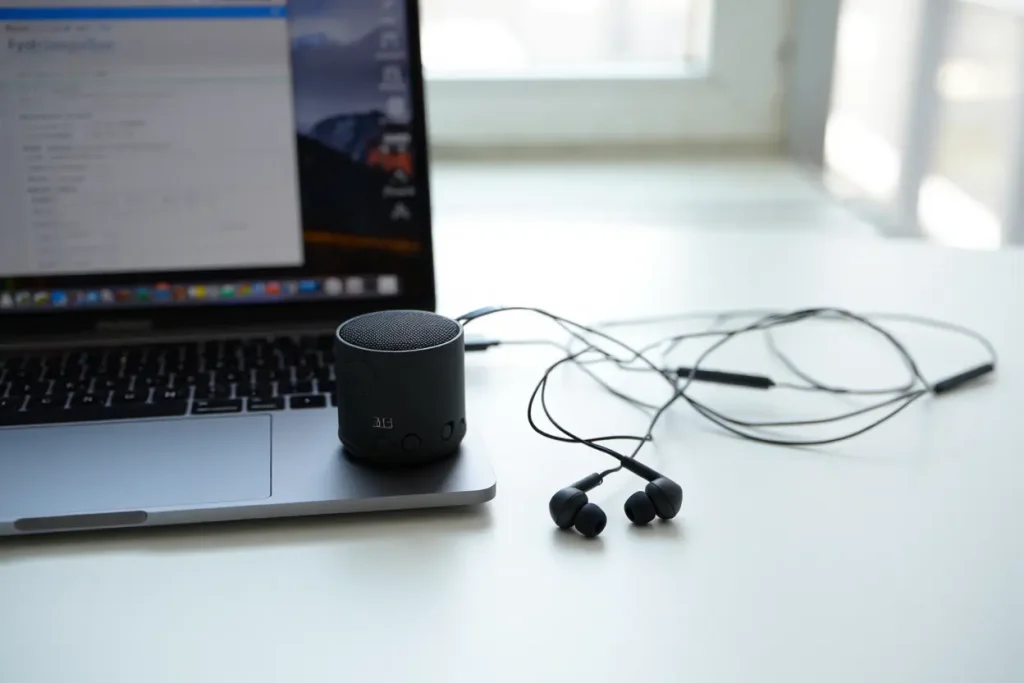
Next, unplug everything. Headphones, external speakers, USB audio interfaces, HDMI cables — pull them all out. HDMI is a sneaky one: if your laptop ever connected to a TV or monitor, the audio output may still be routed there even after you unplugged the cable. With everything disconnected, try playing a YouTube video. If sound comes back, you know the internal speakers are fine and the problem was routing.
Finally, check your Bluetooth. Open the Bluetooth settings and make sure no audio device is connected. Wireless earbuds and headphones often auto-connect the moment you open their case, even in another room. If your laptop audio is not working and Bluetooth is on, that’s suspect number one.
Windows Settings When Laptop Audio Not Working
On Windows 10 and 11, most laptop audio not working cases trace back to one of a handful of settings. The operating system gives you a lot of control over audio routing, which is great when it works and infuriating when something silently changes.
Laptop audio not working: Pick the Right Output Device
Right-click the speaker icon in the taskbar and choose “Open Sound settings” (Windows 10) or “Sound settings” (Windows 11). At the top, under Output, you’ll see a dropdown listing every audio device Windows knows about. Make sure your laptop’s internal speakers — usually labeled “Speakers” or “Realtek(R) Audio” — are selected. If you see something like “Digital Audio (HDMI)” or a Bluetooth device selected, switch it back.
Windows 11 also has per-app output settings buried in the same page. Scroll down to “Advanced” and open “Volume mixer.” Here each running app has its own output device and volume slider. It’s entirely possible for Chrome to be routed to your headphones while everything else uses the speakers. If one app is silent while others work, this is where the problem lives.
Laptop audio not working: Run the Built-In Troubleshooter
People roll their eyes at the Windows troubleshooter, but for audio it genuinely fixes things. Go to Settings, then System, then Sound, and click “Troubleshoot” under the output section. It checks the audio service, the default device, and driver state, and it fixes the simple stuff automatically. It takes about a minute. If your laptop audio is not working due to a stopped Windows Audio service, this catches it.
On Windows 11, you can also find it under Settings, System, Troubleshoot, Other troubleshooters, then “Playing Audio.” Run it, answer the prompts honestly (which device isn’t working), and let it do its thing. It won’t fix a blown speaker, but it resolves service and configuration glitches reliably.
Driver Fixes for Laptop Audio Not Working
When basic settings don’t help, drivers are the next stop. Audio drivers get updated by Windows Update, by manufacturer utilities, and sometimes by random software installs — and a bad update can break sound overnight. If your laptop audio stopped working right after a Windows update, you’re almost certainly looking at a driver issue.
Laptop audio not working: Update the Audio Driver
Press Windows key plus X and open Device Manager. Expand “Sound, video and game controllers.” Right-click your audio device — it’ll be named something like “Realtek(R) Audio,” “Intel(R) Display Audio,” or “Conexant SmartAudio” — and choose “Update driver,” then “Search automatically for drivers.” If Windows finds something newer, install it and restart.
But here’s the thing: Windows Update often installs a generic driver when the manufacturer’s tuned driver would work better. If the automatic update doesn’t help, go to your laptop maker’s support site (Dell, HP, Lenovo, Asus, Acer — whoever built the machine), search your exact model, and download the audio driver they provide. Manufacturer drivers include the custom tuning and control panel software your laptop was designed around.
Roll Back a Bad Driver Update
If sound broke right after an update, rolling back is faster than troubleshooting. In Device Manager, right-click the audio device, choose Properties, go to the Driver tab, and click “Roll Back Driver” if the button is available. Windows restores the previous version. Restart and test. This single step resolves a huge chunk of “it worked yesterday” laptop audio not working cases.
Uninstall and Reinstall Clean
When update and rollback both fail, do a clean reinstall. In Device Manager, right-click the audio device and choose “Uninstall device.” If there’s a checkbox for “Delete the driver software for this device,” check it. Restart the laptop. Windows will detect the missing audio hardware on boot and reinstall a fresh driver. Then, for best results, install the manufacturer’s driver on top of that clean base.
While you’re in Device Manager, also expand “Audio inputs and outputs” and check for any device with a yellow warning triangle. That triangle means Windows knows something is wrong — the error code in Properties often points straight at the cause.
Dig Deeper: Services, Enhancements, and Sample Rates
Still silent? Time for the intermediate fixes. These address the less obvious software causes of a laptop audio not working problem.
First, check the Windows Audio services. Press Windows key plus R, type “services.msc,” and press Enter. Find “Windows Audio” and “Windows Audio Endpoint Builder.” Both should be running and set to Automatic startup. If either is stopped, right-click and start it. Malware cleanups and aggressive “optimizer” tools sometimes disable these.
Next, turn off audio enhancements. Right-click the speaker icon, open Sound settings, click your output device, then “Device properties,” then “Additional device properties.” On the Enhancements tab, check “Disable all enhancements.” These processing effects — bass boost, virtual surround, loudness equalization — are handled by the driver, and buggy enhancement code is a classic cause of silence or distorted sound.
On the Advanced tab of that same dialog, look at the default format. Try changing the sample rate — for example, from “24 bit, 48000 Hz” to “16 bit, 44100 Hz.” Some apps and drivers fight over exclusive control of the sample rate, and a mismatch can produce silence. Uncheck “Allow applications to take exclusive control of this device” while you’re there; it prevents one app from locking out all others.
BIOS and Firmware: The Fix Nobody Thinks Of
Here’s one that surprises people: the audio hardware can be disabled in the BIOS. If you (or someone) poked around in BIOS settings, or if a BIOS update reset things, the onboard audio might be switched off at the hardware level. No driver in the world can fix that.
Restart and enter the BIOS — usually by pressing F2, Delete, or F10 during boot (it varies by brand). Look for an “Integrated Peripherals,” “Onboard Devices,” or “Advanced” section and find the audio controller entry. Make sure it’s Enabled. Save and exit. If your laptop audio is not working and Device Manager doesn’t even show an audio device, a disabled BIOS setting is a prime suspect.
Also worth doing: update the BIOS itself. Manufacturers release BIOS updates that fix hardware initialization bugs, including audio codec issues. Check the support page for your model. BIOS updates sound scary, but modern ones run from inside Windows with a simple installer — just make sure the laptop is plugged in and don’t touch anything while it runs.
Hardware Checks: Speakers, Jacks, and Physical Damage
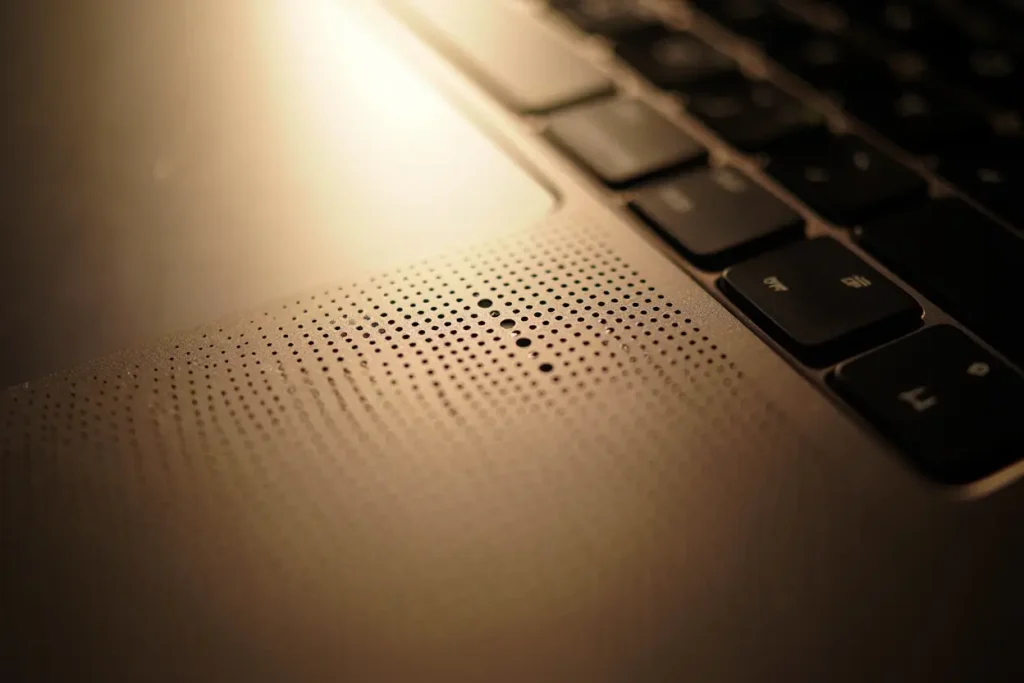
If software is clean, consider the hardware. Laptop speakers are small and fragile, and the headphone jack is a mechanical part that wears out.
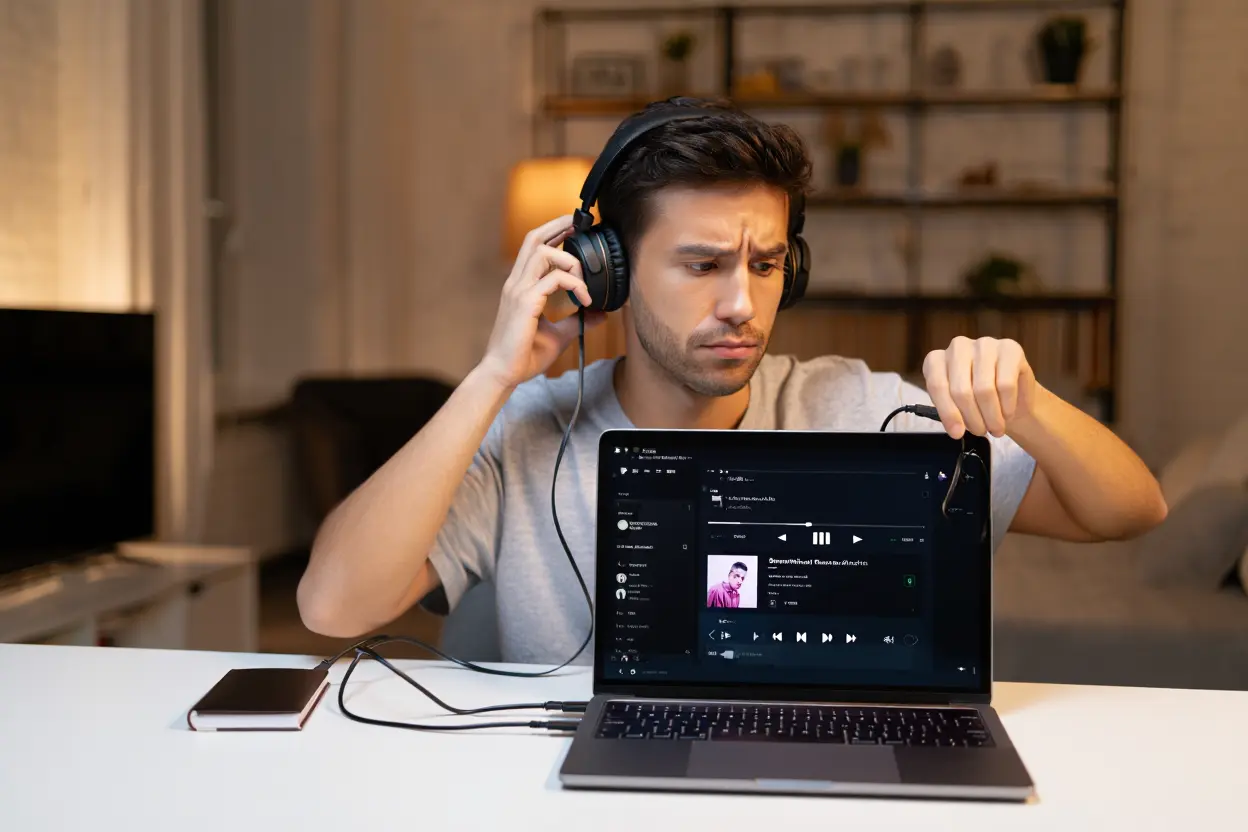
Test the headphone jack. Plug in wired earbuds. If you hear sound through them but not through the speakers, the speakers (or their connection) are the problem, not the audio system. Conversely, if the jack produces nothing either, the issue is upstream — codec, motherboard, or driver.
The headphone jack has a tiny mechanical switch inside that tells the laptop “headphones are plugged in, mute the speakers.” This switch can get stuck — lint, pocket debris, or just wear. If your laptop thinks headphones are connected when they aren’t, the speakers stay muted forever. Plug and unplug a headphone plug firmly a few times to work the switch loose. A quick blast of compressed air into the jack helps too.
Listen closely to the speakers with volume at max in a quiet room. Any faint crackling, buzzing, or distorted sound means the speaker is physically damaged — usually a torn cone from being driven too hard. Laptop speakers are cheap parts, but replacing them means opening the machine, so weigh that against using external speakers or a USB sound adapter.
Mac Users: Laptop Audio Not Working on macOS
Macs have their own flavor of this problem. The fixes are simpler, but the causes can be weirder.
First, check System Settings, then Sound, then Output. Make sure the built-in “MacBook Speakers” are selected. Like Windows, macOS can get stuck routing to an HDMI display or Bluetooth device long after it’s gone. Also check the “Output volume” slider and the mute checkbox right below it.
If the volume keys show a “no entry” symbol when pressed, macOS has lost track of the output device entirely. Open Activity Monitor and quit the “coreaudiod” process — macOS restarts it automatically, and this resets the entire audio stack. It’s the Mac equivalent of restarting the Windows Audio service, and it fixes a surprising number of issues.
For stubborn cases, reset the NVRAM/PRAM (on Intel Macs): shut down, then power on while holding Option, Command, P, and R for about 20 seconds. NVRAM stores the default audio device and volume, and corrupted values there can cause persistent silence. On Apple Silicon Macs, just shut down, wait 30 seconds, and power back on — the equivalent reset happens automatically.
When Only Some Apps Are Silent
A special case worth calling out: your laptop audio works in general, but one specific app is silent. This is almost never a driver problem — it’s routing or permissions.
On Windows, open the Volume Mixer (right-click the speaker icon) and check that the app’s slider isn’t muted or at zero. Then check the app’s own settings — Zoom, Discord, Teams, and games all have their own output device selectors that can point somewhere unexpected. In Discord, for example, the voice settings page has a separate output device dropdown that ignores the Windows default.
Also check microphone-style privacy settings. Windows has a privacy page (Settings, Privacy and security, Microphone) that controls app access to audio input, and some communication apps refuse to produce output if they can’t access input. It’s odd, but granting the permission has fixed “no sound in Zoom” for plenty of people.
Browser issues deserve a mention too. Each browser tab can be individually muted — right-click the tab and check. And if a web app like Google Meet has no sound, click the lock icon in the address bar and verify the site has permission to play sound.
Bluetooth Audio and Laptop Audio Not Working
Bluetooth audio problems deserve their own section because they follow different rules. If your laptop audio is not working specifically with Bluetooth headphones or speakers, the internal speakers are probably fine.
Remove the device and re-pair it. Go to Bluetooth settings, remove the device, put the headphones in pairing mode, and add them fresh. Stale pairing data causes a huge share of Bluetooth audio failures. While you’re at it, make sure the device is charged — low battery causes exactly the kind of dropouts and silence people blame on the laptop.
Check which Bluetooth profile is active. Headphones typically expose two: “Headset” (HSP/HFP, for calls — low quality, includes microphone) and “Headphones” or “Stereo” (A2DP, high quality, no mic). If Windows switched to the Headset profile, audio sounds terrible or drops out. In Sound settings, set the Stereo device as default for playback and, if you need the mic, accept the quality tradeoff knowingly.
Interference is real. Bluetooth shares the 2.4 GHz band with Wi-Fi, microwaves, and USB 3.0 ports. If audio stutters when you move the laptop, try moving the Bluetooth device closer, switching your Wi-Fi to 5 GHz, or plugging USB 3.0 devices into ports on the opposite side from the Bluetooth antenna (usually near the screen hinge).
When to Stop Troubleshooting and Accept Hardware Failure
There’s a point where more troubleshooting is just procrastination. Here’s how to know you’ve reached it: you’ve reinstalled drivers clean, checked BIOS, tested with headphones (no sound there either), run the troubleshooter, and tried a Linux live USB (which bypasses Windows entirely) — and still nothing. At that point, the audio codec chip or its connection to the motherboard has likely failed.
Before you give up, try the Linux live USB test if you haven’t. Boot Ubuntu from a USB stick without installing, and play a video. If sound works in Linux, your hardware is fine and the problem is 100% in your Windows installation — consider a Windows reset. If it’s silent in Linux too, it’s hardware. This test takes 20 minutes and gives you a definitive answer.
For hardware failure, you have options short of a motherboard replacement. A USB sound adapter — a tiny dongle that adds a headphone jack via USB — costs very little and completely bypasses the broken onboard audio. USB headsets and Bluetooth audio do the same thing. These are perfectly respectable permanent fixes; plenty of people run them for years.
If the laptop is under warranty, use it. Audio codec failure is a legitimate warranty claim. If it’s out of warranty, get a repair quote before deciding — on many laptops the audio codec is soldered to the motherboard, making professional repair expensive enough that a USB adapter is the sane choice.
When you’re getting started with Laptop audio not working, the biggest mistake is trying to do everything at once. The people who get the best results from Laptop audio not working start small, focus on one specific goal, and build from there. Think of Laptop audio not working as a skill you develop over time, not a switch you flip. Each week you spend working with Laptop audio not working, you’ll notice patterns in what works and what doesn’t.
Not every approach to Laptop audio not working is right for every person. Your budget, your experience level, and your end goal all shape which Laptop audio not working strategy makes sense for you. Someone exploring Laptop audio not working for the first time needs different guidance than someone who’s been using Laptop audio not working for months. The advice below assumes you’re past the absolute basics but still figuring out the details.
Preventing It From Happening Again
Once your sound is back, a few habits keep it that way. Be cautious with “driver updater” utilities — they cause more audio breakage than they fix. Let Windows Update handle drivers, and only install manufacturer drivers when you have a specific reason.
Create a system restore point when everything works. It takes 30 seconds (search “Create a restore point” in the Start menu) and gives you a one-click rollback the next time an update breaks something. Think of it as insurance for exactly this kind of problem.
Keep the headphone jack clean, don’t yank cables out at an angle, and avoid maxing out the volume for extended periods — those tiny speakers distort and degrade when driven hard constantly. A little care goes a long way.
Laptop audio not working is frustrating, but it’s rarely fatal. Work through this guide in order — quick checks, settings, drivers, deeper software, hardware — and you’ll find the cause. Most people fix it in the first three sections. Good luck, and enjoy having sound again.